It's been so long since I posted a journal! I was so busy lately, with those SATs and APs (I still got one left to go! eek), that I did not have much time to farm or to blog. Sorry about that! Anyways, spring season is almost up and summer is coming soon! so we had to quickly plow the ground once again to form lanes and plant the seeds (we decided to plant corn). That way, when the rainy season comes, our seeds will have already been deeply rooted in the ground by then and will not be washed away.
i just took this photo because it is absolutely beautiful! haha i don't have a valid reason. but then, what is more legit than appreciating the beauty of nature. :) by the way, these are cherry blossoms!
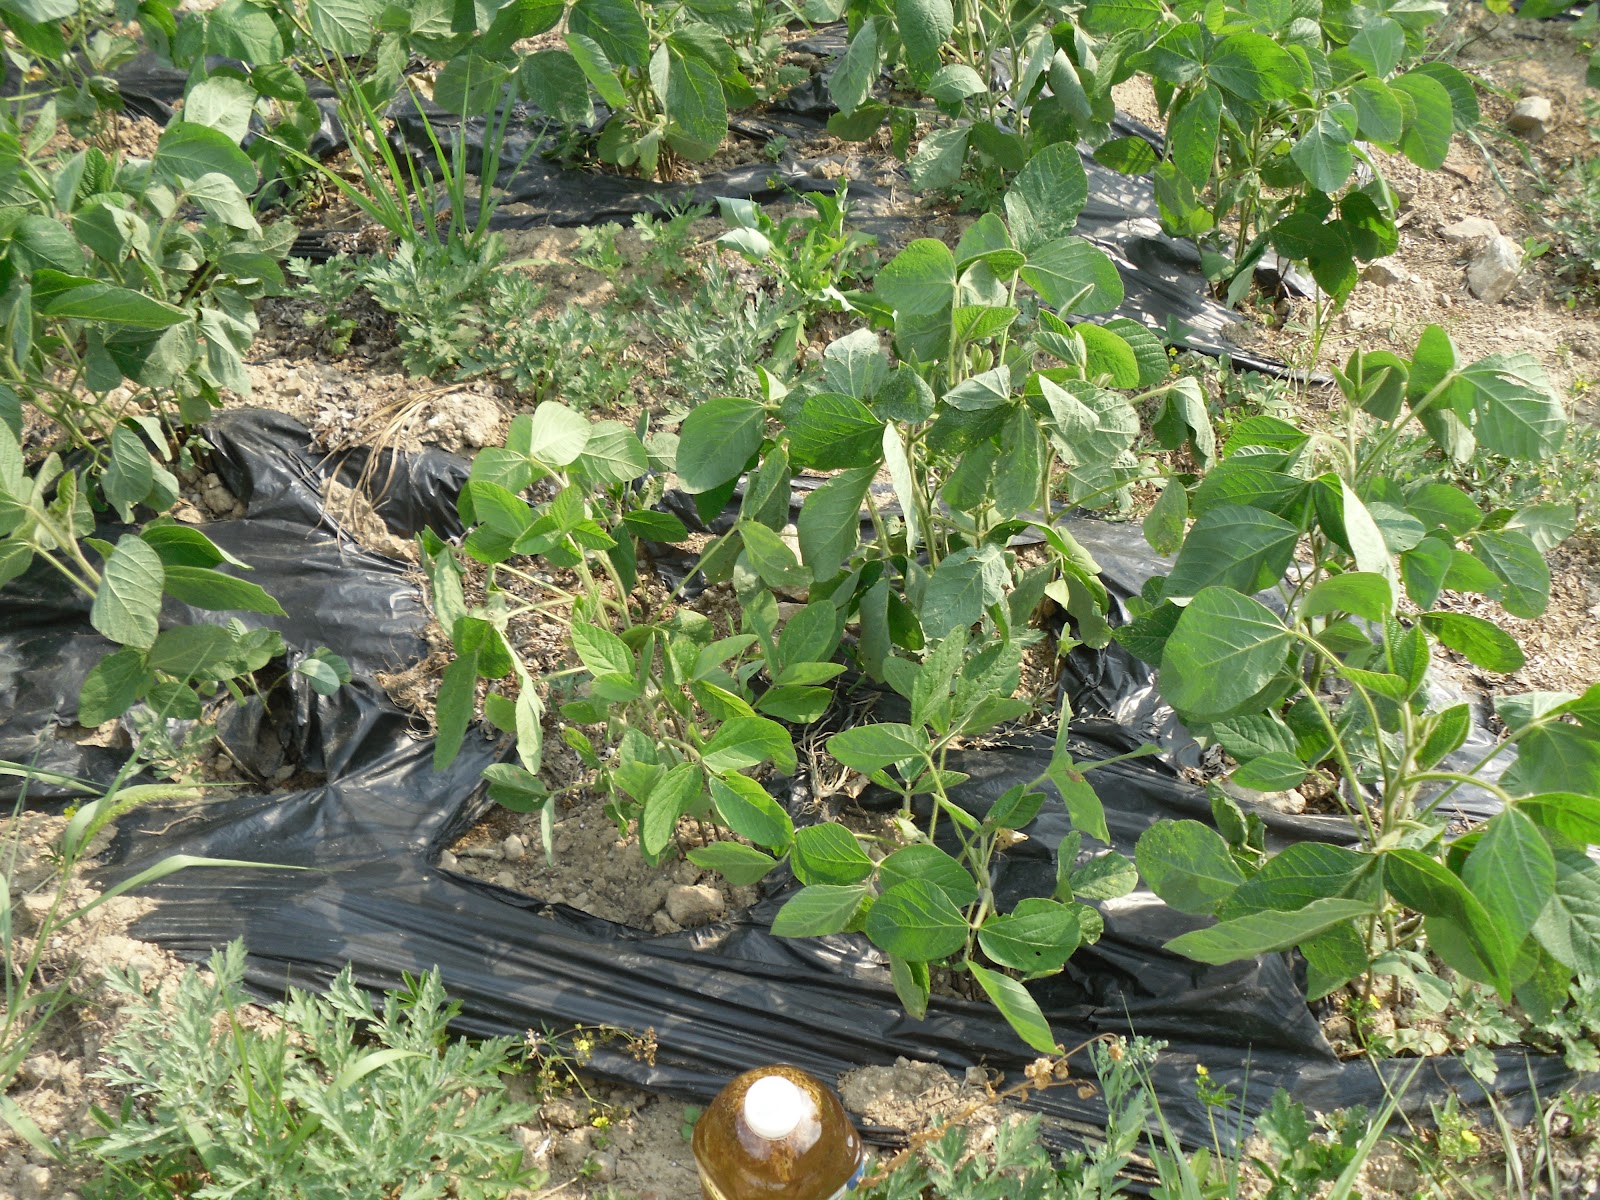
Finally, we are back to our farm! See how we dug up lanes? Lanes come useful in many ways: we organize plant seeds, we can move around the 'unplanted' lanes to pick out some weeds and water the seeds on the 'planted' lanes, and the water will drown faster through the garden, preventing any flood damages.
it may not seem like it but it takes a whole lot of time to dug these lanes. almost fifty people participated on this day and we had to farm for more than five to six hours.
to spice things up, i also uploaded a few videos for you to watch. nothing fancy going here, just some friends having fun. because we were tired of the hard work, we constantly made jokes to keep us going.
a friend trying to act like a superhero while digging up the lanes. seriously, it was hard work and we had to put in our best efforts to organize these lanes. he was just exaggerating how hard the work was. haha
so this is a video of our farm and our school. i just wanted to show you guys the whole view of our farm. even though it is a bit small, it's a beauty, isn't it?
now we are finished with our lane-digging! time to move on planting the seeds. We chose corn seeds because..we like corn? haha we thought it would look really cool when these seeds are all grown up. i know, it is not the greatest reason in the world to chose corns for your garden but still.. what other plants are both delicious and fabulous? corns.


okay, this is a really really cool and useful device while planting seeds. When you plant the seeds, you first have to dig in the ground, about four to five inches, and then plant the seeds. (by the way, when you are planting corn, you have to plant three to four seeds in one hole. that way, these seeds will grow faster.) It is quite time consuming to dig up the ground. This device helps you to dig up a small portion of the ground. Another cool thing about this device is that after it digs up the ground, it automatically implants several seeds in the hole. It sounds quite complicated and strange but when you try this out, it is the easiest thing in the world of farming!
nope! you have to plant two or three more seeds!
there you go :)
after you plant the corn seeds, you have to water them! don't forget this step! or else, the seeds will dry up soon.